What happens during a geotechnical investigation in Auckland

If you’re building, subdividing or putting in a retaining wall in Auckland, sooner or later someone will tell you that you need a geotechnical investigation. For many owners and developers it’s the first time they’ve commissioned one, and it’s not always clear what it involves, how long it takes or what you’ll get at the end.
This article walks through a typical investigation on an Auckland site, step by step, so you know what to expect.
Why an investigation is needed
You can’t see the ground under your site, but everything you build depends on it. An investigation tells your designers what is actually there, so foundations, retaining walls and earthworks are designed for real conditions rather than assumptions.
Auckland Council also expects geotechnical information to support most building and resource consents on anything beyond a simple flat site. Lodging without it is one of the most common reasons for requests for further information and consent delays.
Step 1: desktop study
Before anyone goes to site, we review what is already known about the area:
- Geological maps, to understand the likely soils and rock
- Auckland Council hazard overlays, including landslide susceptibility, flooding, coastal erosion and liquefaction
- Historic aerial photos, which can show old slips, filled gullies or past earthworks
- Nearby investigations held in council records or our own files
This often highlights the main risks straight away and helps us plan the right fieldwork, so you don’t pay for testing you don’t need.
Step 2: site walkover
A walkover lets us look at things a map can’t show: signs of slope movement, cracked paths or leaning fences, seepage, existing retaining walls, and access for any equipment. On sloping or coastal sites this is often where the real picture starts to form.
Step 3: fieldwork
The type of testing depends on the site and what is being built. Most Auckland investigations use a mix of the following.
Hand auger boreholes. A small hand-turned auger is used to bore into the soil, bringing up samples we log as we go. A shear vane is used down the hole to measure soil strength, and a Scala penetrometer is often used alongside. Hand augers are quick, low-cost and work on tight or steep sites where machines can’t get in. They are typically taken to around 3 to 5 metres, or until they hit something hard.
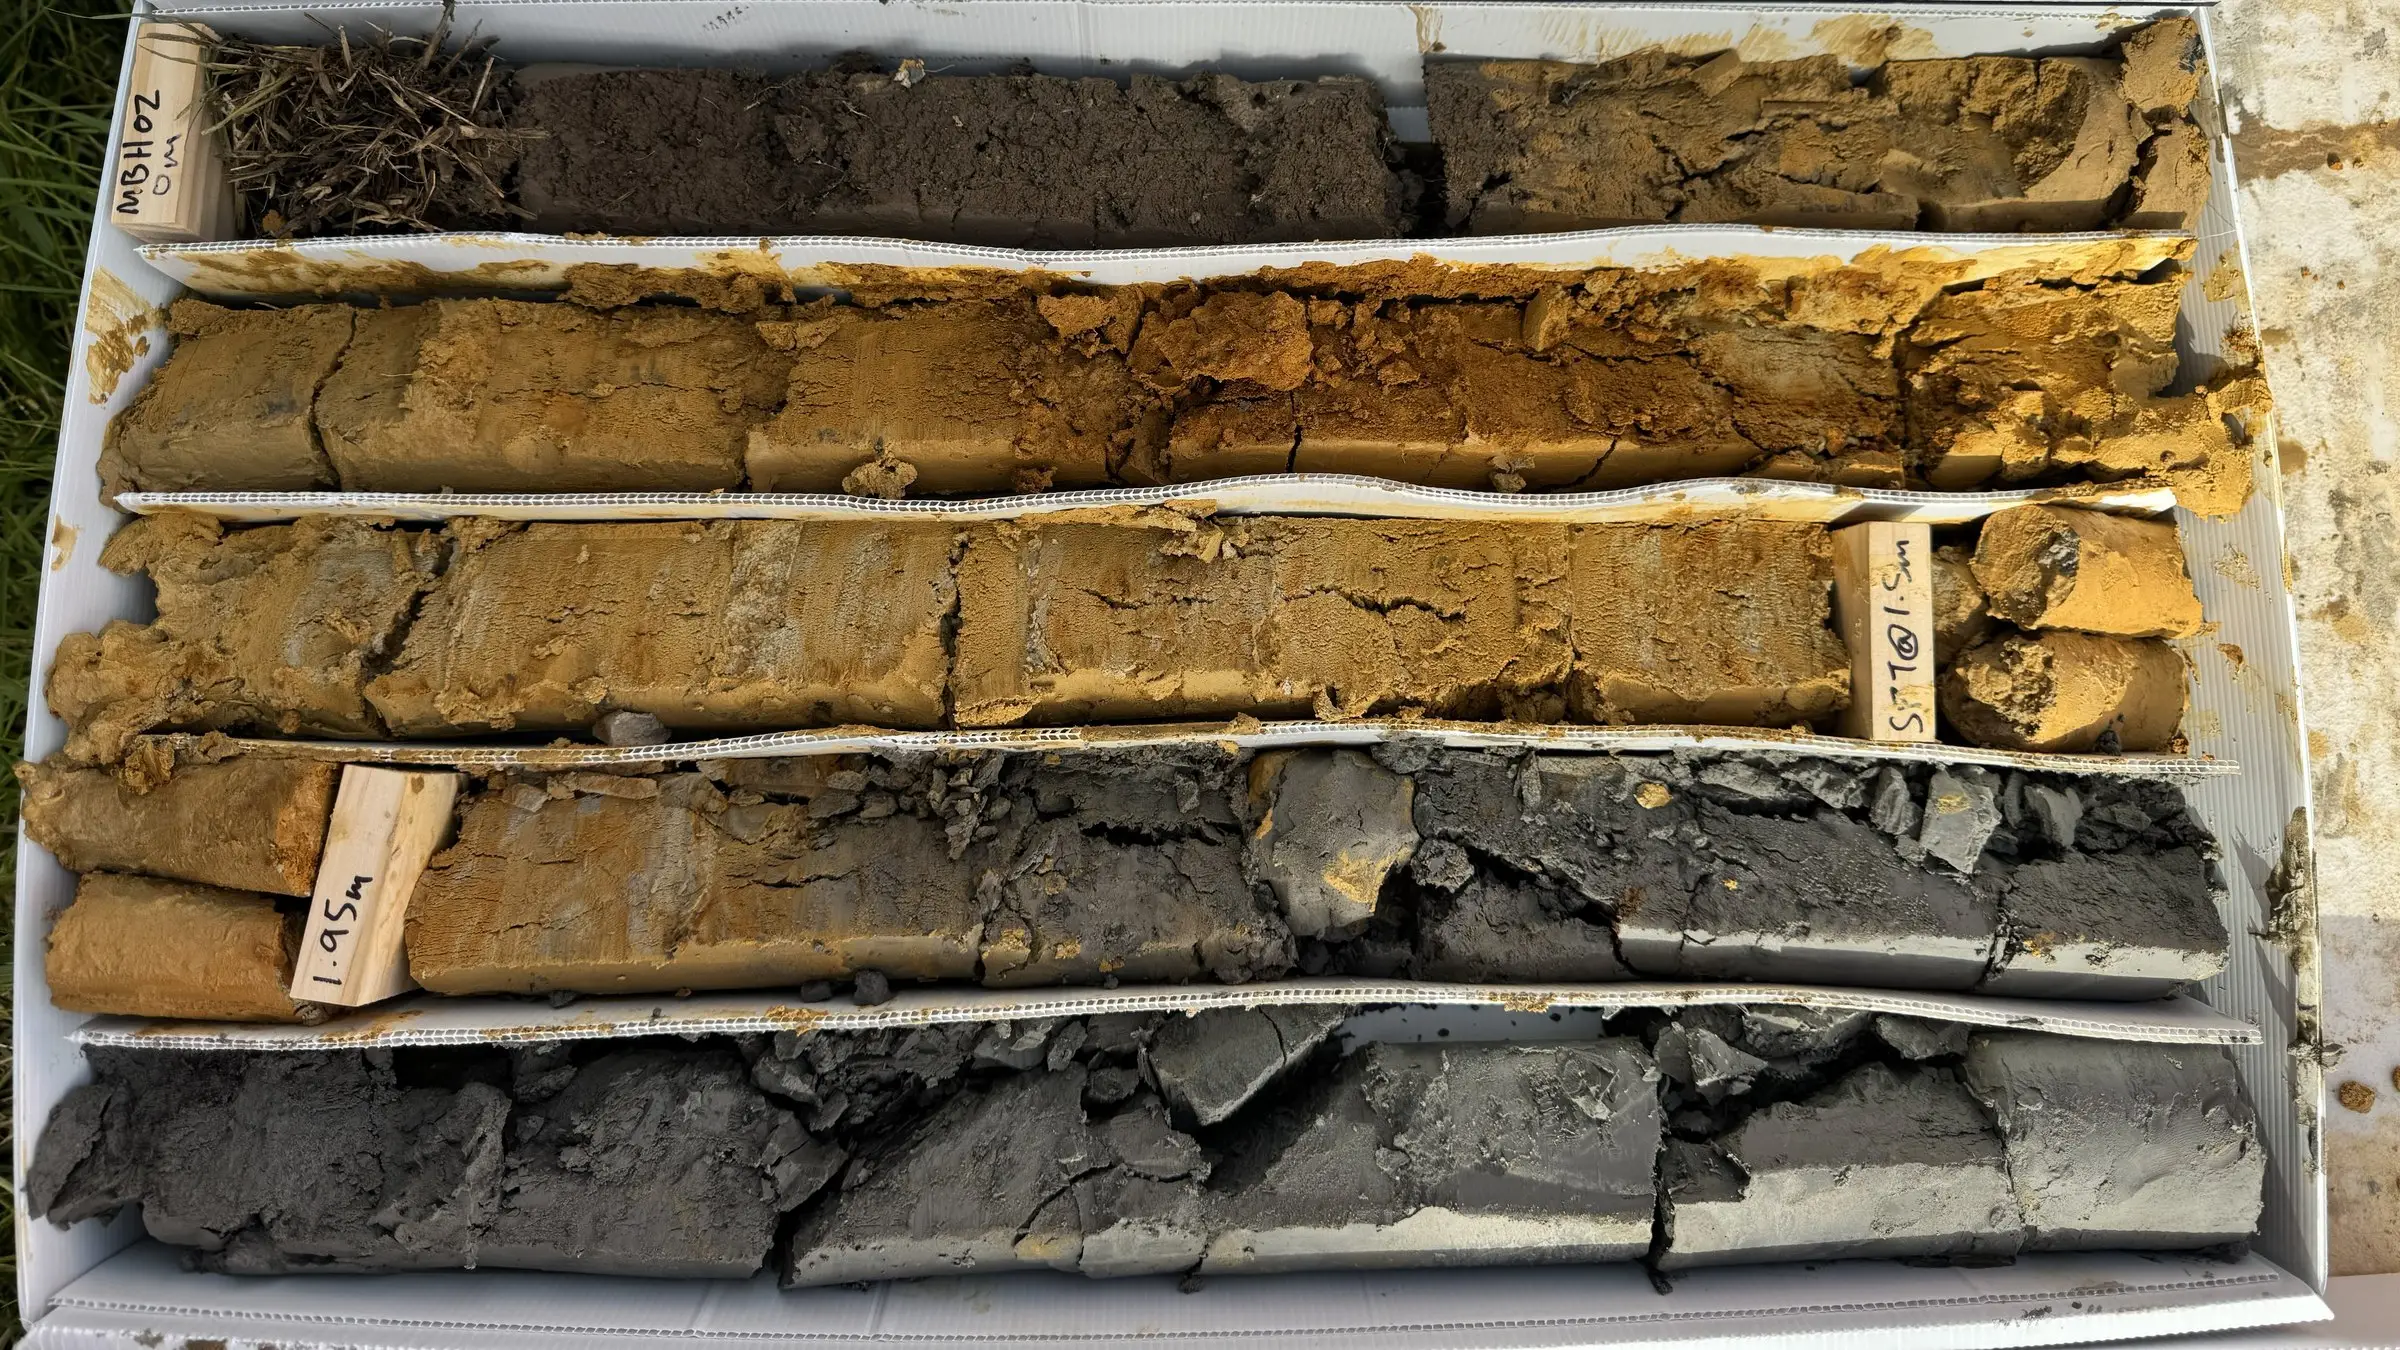
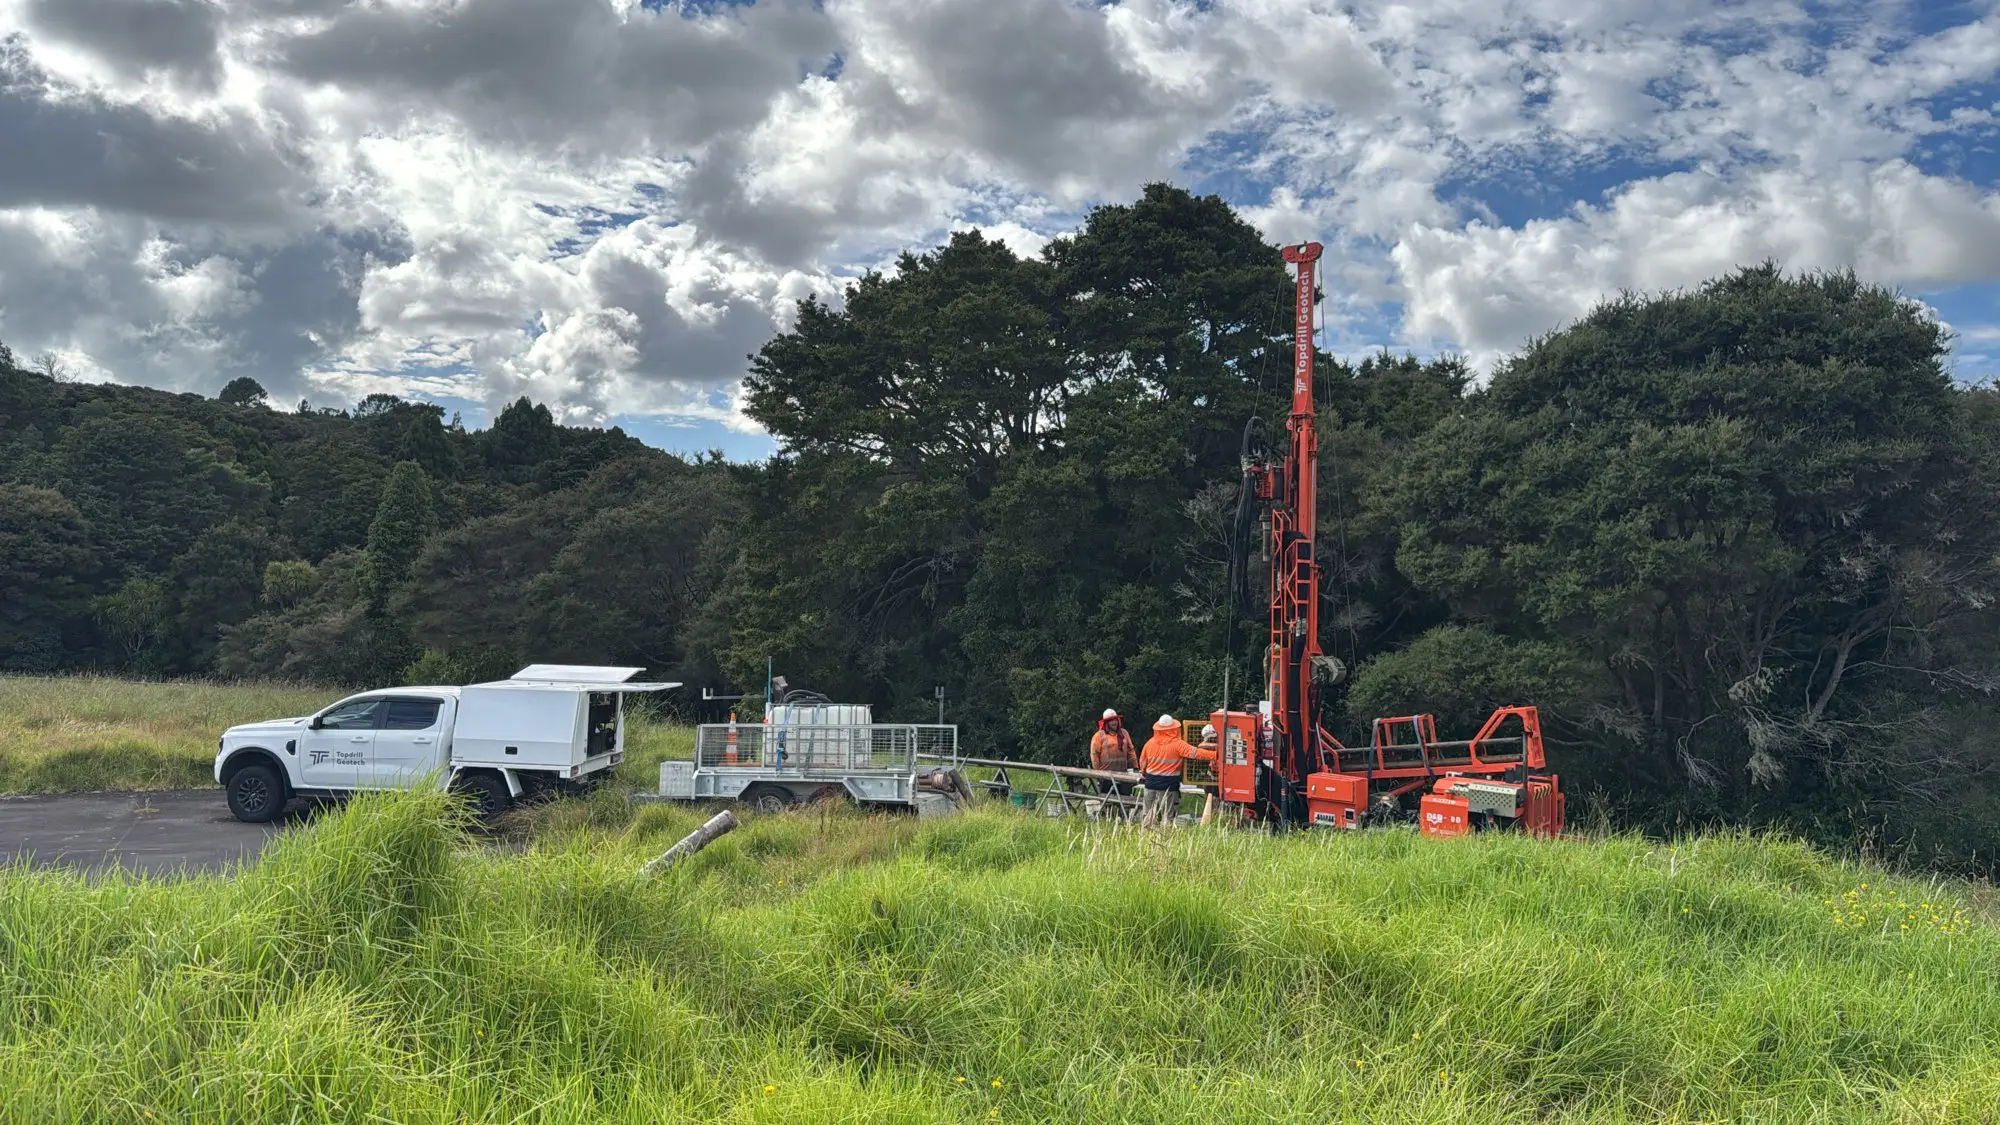
Machine drilled boreholes. A drill rig recovers soil and rock samples from greater depths. This is used for larger buildings, deeper piles, big retaining walls and sites where rock is close to the surface. Drilling also lets us install a standpipe to monitor groundwater over time.
Cone penetration tests (CPTs). A truck or track-mounted rig pushes an instrumented cone into the ground, giving a continuous record of how the soil behaves with depth. CPTs are fast and very good for soft soils, settlement and liquefaction assessment. They don’t bring up a sample, and gravel or shallow rock will stop them, so they are usually paired with boreholes.
Test pits. An excavator digs a trench so we can see the ground directly. Test pits are useful for finding old fill, checking the soil a shallow foundation will sit on, and looking at the shape of buried slip surfaces.
Laboratory testing. Samples may go to a lab for tests such as water content, plasticity and shrink-swell potential (expansive soils are common across Auckland).
What you need to provide
To get started we usually need:
- The site address and any existing survey or site plan
- What you’re planning to build (even a rough concept)
- Any existing reports for the site or neighbouring sites
- Location of underground services, if known, and access arrangements for the day
For machine drilling or CPTs, we arrange a services locate before any ground is broken.
What you get at the end
The investigation leads to a geotechnical report that explains the ground conditions in plain terms and gives your designers what they need. Depending on the project, that covers:
- Logs of each borehole, CPT and test pit, with a site plan showing where they are
- A ground model describing the soils, rock and groundwater
- Foundation recommendations, including bearing capacity and expected settlement
- Slope stability assessment where the site is sloping
- Liquefaction assessment where the ground and location call for it
- Earthworks and retaining wall advice
The report is written to support your building or resource consent, and we answer any council questions about it.
How long it takes
Timing depends on the site, the scope and how busy drilling contractors are. A simple residential investigation using hand augers is much quicker than a large site needing a drill rig and lab testing. Ask us at the start and we’ll give you a realistic programme for your site.
Our advice
Get the investigation done early, ideally before your design is fixed. Ground information at concept stage can shape the layout, reduce retaining wall heights and earthworks, and avoid redesign later. See why in why early geotechnical input saves time and cost.
Find out more about our geotechnical investigations and geotechnical reports, or talk to us about your site.